Table of Contents
ToggleConverting a storage shed into a tiny house has become one of the most practical entries into affordable micro-living. These structures offer a ready-made shell with four walls and a roof, often for less than the cost of a foundation alone. Unlike traditional home construction, shed conversions cut through months of framing work and deliver livable space faster. But the process isn’t as simple as moving in a futon and calling it done. Proper insulation, code compliance, and utility integration separate a garden shed from a functional dwelling. This guide walks through the real decisions, material specs, and permit realities involved.
Key Takeaways
- A storage shed tiny house conversion delivers livable space in 80–200 square feet at a fraction of traditional construction costs, with basic builds starting under $3,000 and full conversions reaching $15,000–$25,000.
- Choose sheds with 2×4 framing and at least 8-foot sidewalls to accommodate proper insulation (R-13 to R-21) and meet International Residential Code requirements for habitation.
- Electrical and plumbing work require permits and inspections in virtually all jurisdictions; budget $1,500–$3,000 for a subpanel and $2,000–$4,000 for bathroom plumbing if hiring licensed professionals.
- Foundation choice—skids versus concrete slab—directly impacts zoning classification, permit requirements, and portability of your storage shed tiny house project.
- Install utilities (electrical conduit, PEX supply lines, and drain pipes) before closing walls, and coordinate inspection schedules with your building department to avoid code failures.
- Ductless mini-split HVAC systems ($1,500–$3,000) provide superior efficiency for climate control compared to window units or space heaters in tiny house conversions.
What Is a Storage Shed Tiny House?
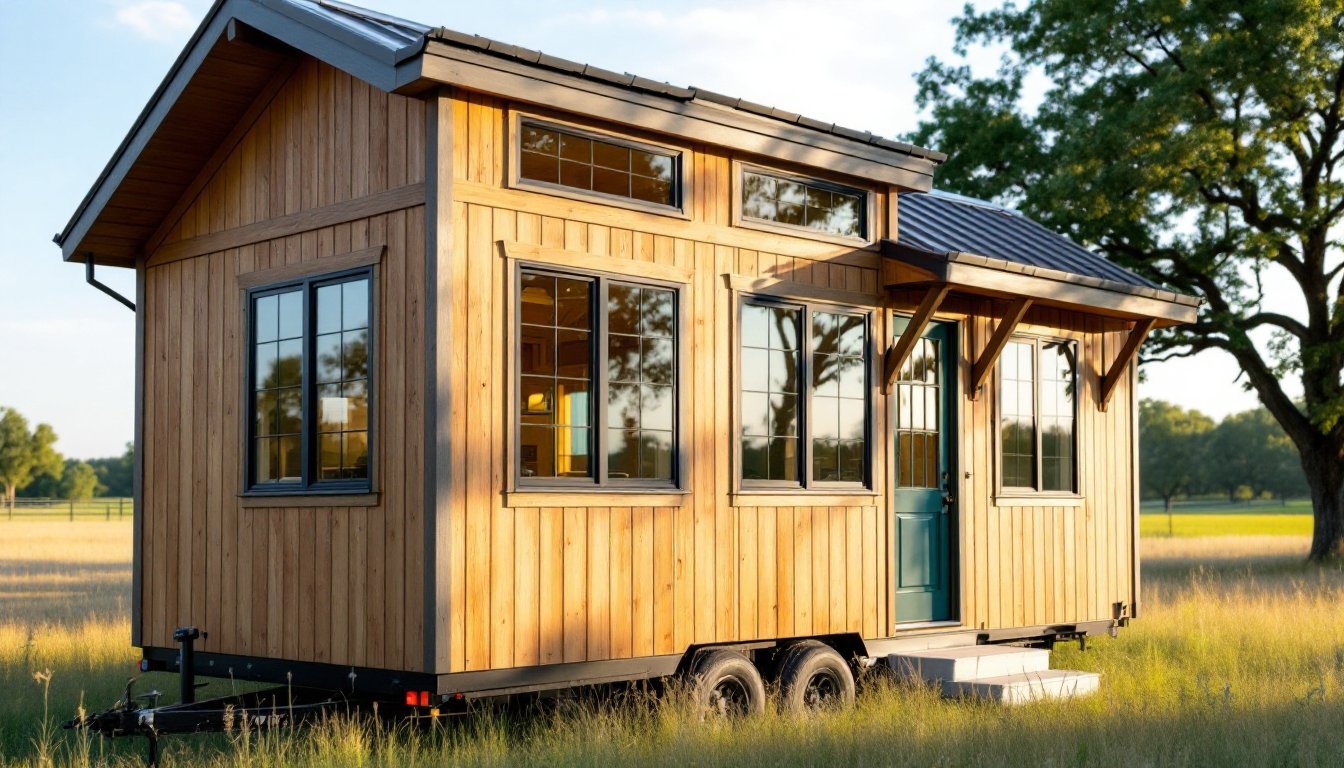
A storage shed tiny house is a prefabricated or site-built storage structure that’s been retrofitted with insulation, utilities, and interior finishes to support full-time or part-time living. These structures typically range from 80 to 200 square feet, though larger models can reach 400 square feet before crossing into ADU (accessory dwelling unit) territory.
Most conversions start with a wood-frame shed built on skids or a gravel pad. Standard construction uses 2×4 wall framing on 16-inch centers with OSB or plywood sheathing. The roof is usually gable or gambrel style with asphalt shingles. What separates a storage shed from a tiny house is the interior buildout: vapor barriers, insulation rated for local climate zones, finished walls, climate control, and connections to water, sewer, and electrical systems.
Zoning laws treat these structures differently depending on jurisdiction. Some areas classify them as accessory structures if they remain under a certain square footage and lack a permanent foundation. Others require them to meet the International Residential Code (IRC) once they’re used for habitation, which triggers permit requirements for electrical, plumbing, and egress windows. It’s critical to check local codes before starting any conversion work.
Why Convert a Storage Shed into a Tiny House?
Shed conversions appeal to builders who want living space without the timeline or budget of conventional construction. The structure’s already there, no foundation crew, no framing crew, no roof install. That trimmed schedule matters for homeowners adding a backyard office, guest room, or rental unit.
Another driver is flexibility. A shed on skids isn’t a permanent structure in most jurisdictions, which can sidestep certain permit requirements (though utilities still need permits). This makes it easier to test micro-living before committing to a mortgage or long-term lease. For those exploring tiny home design strategies, a shed conversion offers a low-risk proving ground.
Cost Savings and Affordability
A basic 12×16-foot shed runs between $4,000 and $8,000 delivered, depending on materials, roof style, and regional pricing. By comparison, building the same shell from scratch, including foundation, framing, sheathing, roofing, and siding, typically costs $8,000 to $12,000 in labor and materials alone.
Conversion costs vary widely based on the finish level. A minimal buildout with basic insulation, drywall, vinyl plank flooring, and a window AC unit can come in under $3,000 if the owner does the work. A full conversion with spray foam insulation, a mini-split HVAC system, PEX plumbing, a 100-amp subpanel, and hardwood finishes can push $15,000 to $25,000.
Those numbers assume the builder handles most tasks. Licensed electricians charge $75 to $150 per hour, and permitted electrical work for a subpanel and circuits typically runs $1,500 to $3,000. Plumbing for a bathroom (toilet, sink, shower) adds another $2,000 to $4,000 if hiring a plumber. DIYers can cut costs significantly, but permits still apply to electrical and plumbing in most jurisdictions, and inspections are non-negotiable for code compliance.
Choosing the Right Storage Shed for Conversion
Not every shed is conversion-friendly. Look for structures with at least 8-foot sidewalls to allow for insulation, drywall, and adequate headroom after losing 3–4 inches to floor and ceiling buildout. Gambrel or barn-style roofs add loft space, which is useful for sleeping areas or storage.
Frame construction matters. Prefab sheds often use 2×3 studs instead of 2×4s, which limits insulation depth. A 2×3 cavity only fits R-11 fiberglass batts, while a 2×4 wall accommodates R-13 to R-15 batts or 3.5 inches of closed-cell spray foam at roughly R-21. In cold climates, that difference affects heating costs and comfort. Upgrading to a shed built with 2×4 framing costs more upfront but pays off in energy performance.
Window and door placement also impacts livability. Most storage sheds have a single entry door and minimal or no windows. The IRC requires egress windows in sleeping areas, minimum 5.7 square feet of openable area with a sill height no more than 44 inches above the floor. If the shed lacks egress-compliant windows, budget for cutting openings and installing new units. A 32×48-inch casement or slider window runs $150 to $400 plus installation.
Foundation type affects permitting and portability. Sheds on treated 4×6 skids or concrete blocks are often classified as temporary structures. Pouring a 4-inch concrete slab with a thickened perimeter footing turns the shed into a permanent structure, which may require a building permit, setback compliance, and impact property taxes. For those interested in building techniques for tiny homes, foundation choice is one of the first decision points. Consult local zoning before committing to a foundation.
Essential Steps to Transform Your Shed into a Livable Space
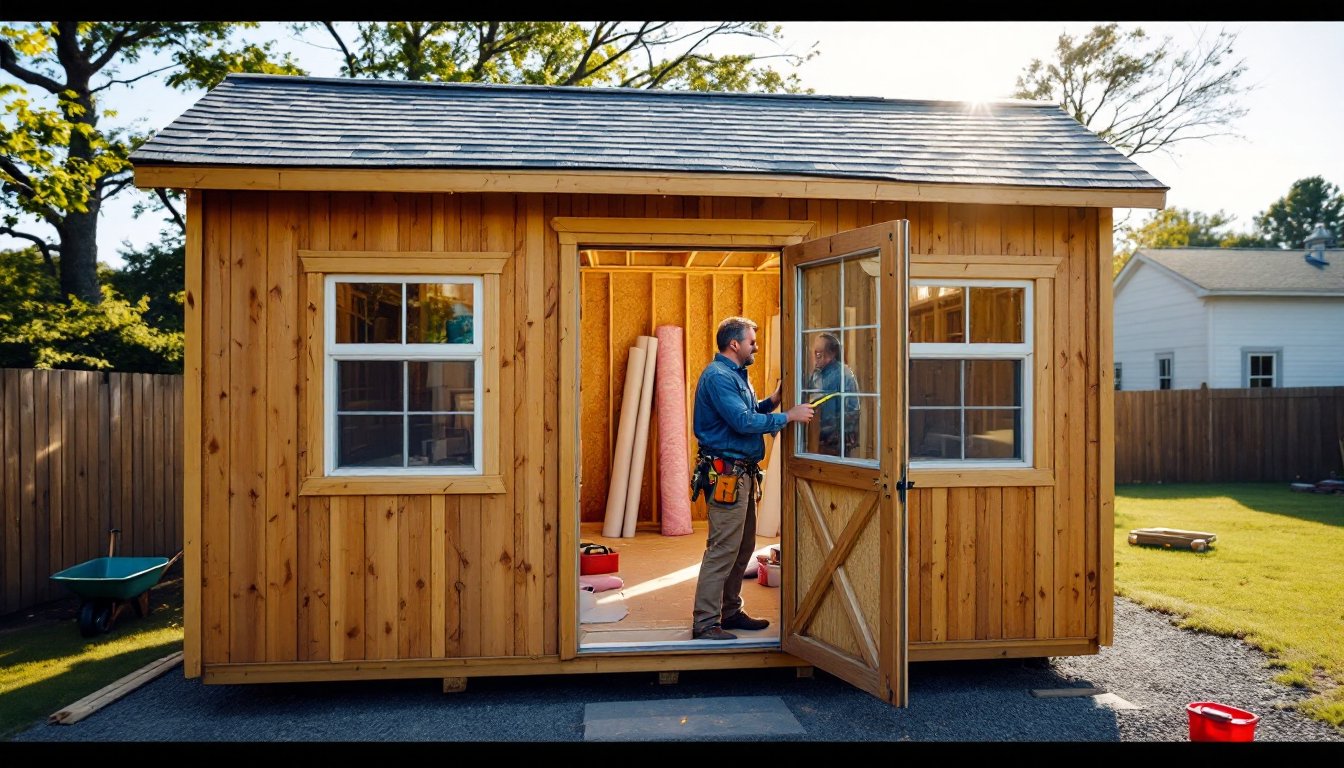
Conversion work follows a logical sequence: structural assessment, insulation and weatherproofing, utility rough-ins, interior finishes, and final inspections. Skipping steps or doing them out of order causes rework and code failures.
Start by inspecting the frame for level, plumb, and square. Use a 4-foot level on walls and floor joists. Out-of-plumb walls complicate drywall installation and door/window fit. Check the roof for leaks, look for water stains on sheathing or rafters. Repair any damage before adding insulation.
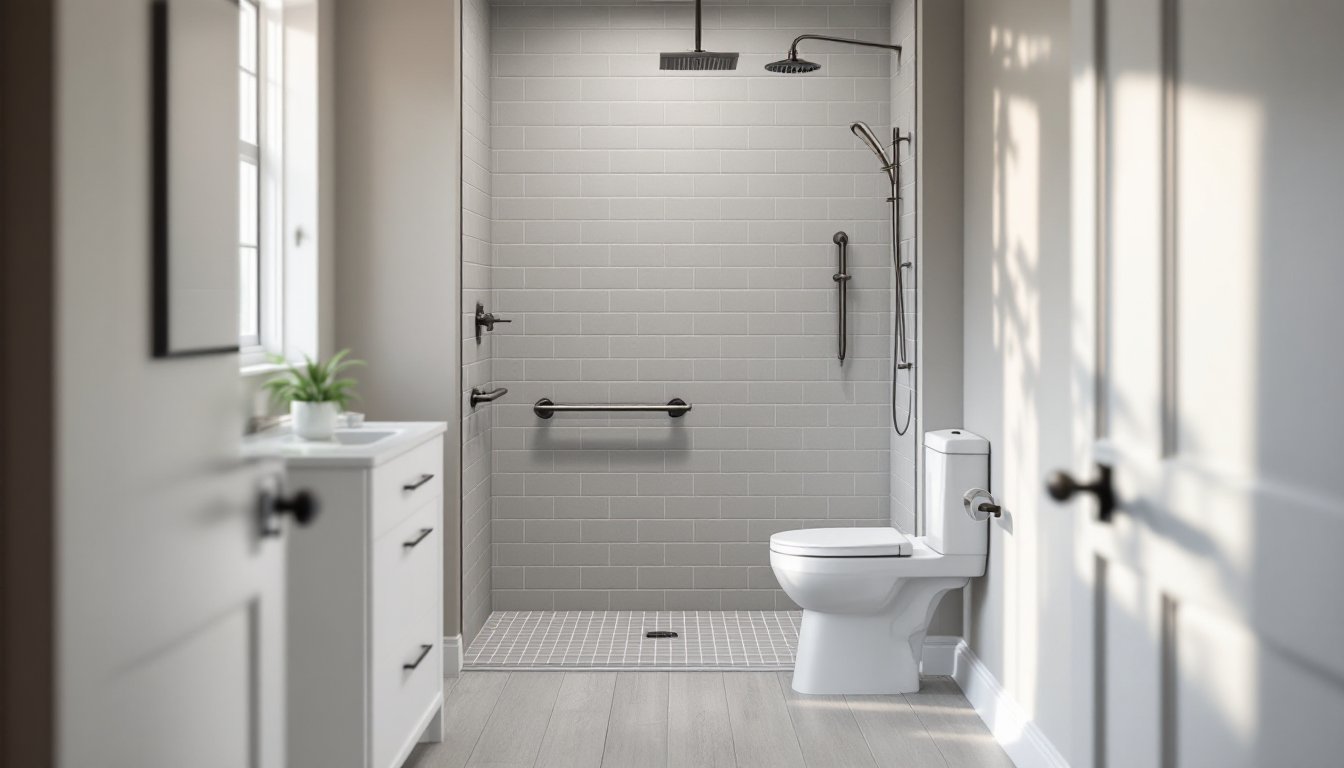
Next, plan your layout. In a 10×12-foot shed, space is tight. A queen bed takes up roughly 60 square feet including clearance. A compact bathroom (toilet, corner shower, pedestal sink) needs a minimum 25–30 square feet. That leaves about 50 square feet for a kitchenette and living area. Draw it out on graph paper at 1/4-inch scale to visualize furniture placement and traffic flow.
Install utilities before closing up walls. Run electrical conduit or Romex to planned outlet and switch locations. Route PEX supply lines and ABS or PVC drain lines for plumbing fixtures. Coordinate inspection schedules with your local building department, most jurisdictions require inspections before covering rough-ins. Framing and construction methods used in traditional tiny home builds often apply directly to shed conversions, especially for loft and storage integration.
Insulation and Climate Control
Insulation is the single most important upgrade. An uninsulated shed is uninhabitable in summer and winter. The IRC recommends minimum R-13 in walls and R-30 in ceilings for most U.S. climate zones, though northern zones may require R-19 walls and R-49 ceilings.
Fiberglass batts are the cheapest option, $0.50 to $0.70 per square foot for walls. Install a 6-mil polyethylene vapor barrier on the warm side (interior in cold climates, exterior in hot-humid climates) to prevent condensation in the wall cavity. Seal all seams with housewrap tape. Spray foam costs more, $1.50 to $3.00 per square foot for closed-cell foam, but eliminates vapor barrier work and air leaks. For builders following tiny home energy strategies, spray foam is often worth the investment.
Don’t forget the floor. If the shed sits on skids or a raised platform, insulate the floor joists with R-19 batts or rigid foam board. Use 1-inch foil-faced polyiso (R-6.5 per inch) between joists, sealed with spray foam or caulk at edges. Without floor insulation, cold air drafts up through gaps in the subfloor.
Climate control options depend on space and budget. A window AC unit (8,000 to 12,000 BTU) cools a 150-square-foot shed adequately and costs $250 to $500. For heating, a 750- to 1,500-watt electric space heater works in mild climates, but running costs add up in winter. A ductless mini-split system (heat pump) provides both heating and cooling with better efficiency, expect to pay $1,500 to $3,000 installed for a 9,000-BTU unit. Advanced building science resources like Fine Homebuilding offer detailed guides on sizing HVAC systems for small spaces. Always ensure adequate ventilation: a tiny space without air exchange develops mold and odor fast.
Plumbing and Electrical Considerations
Electrical work must comply with the National Electrical Code (NEC). A converted shed typically needs a 50- or 100-amp subpanel fed from the main house. Bury UF-B (underground feeder) cable or run PVC conduit with THWN-2 wire in a trench at least 18 inches deep (24 inches in some jurisdictions). The subpanel supports lighting circuits, outlets, and a dedicated 240V line for a mini-split or electric heater.
Plan for one 15-amp circuit per 500 square feet of living space. Include GFCI-protected outlets in the bathroom and kitchenette (required within 6 feet of a sink). Install Arc-Fault Circuit Interrupter (AFCI) breakers on bedroom circuits per NEC 210.12. Most jurisdictions require a permit and inspection for all electrical work, even if the homeowner does the installation. Don’t skip this, insurance claims get denied if unpermitted work causes a fire.
Plumbing depends on whether the shed connects to municipal sewer or uses a septic system. If tying into existing sewer, run 3-inch or 4-inch ABS/PVC drain pipe with a minimum 1/4-inch per foot slope from the shed to the connection point. Supply lines use 1/2-inch or 3/4-inch PEX, which is easier to work with than copper and resists freezing better. Bury supply lines below the frost line, 30 to 48 inches depending on location.
For off-grid setups, a composting toilet eliminates the need for a septic connection. Models like the Nature’s Head or Sun-Mar cost $900 to $1,200 and require periodic emptying. Graywater from sinks and showers can drain to a small drywell or gravel-filled pit if local codes allow, but many areas now require all wastewater to go through a septic or sewer system. Check regulations early. Detailed project guides on woodworking and DIY builds can help with custom cabinetry and fixture installation once utilities are roughed in.
Safety Note: Always wear safety glasses, work gloves, and a dust mask when cutting insulation or drywall. Use a GFCI-protected extension cord for power tools on job sites without permanent electrical service. When working with PEX or PVC, ensure adequate ventilation if using solvent-based primer and cement, fumes are harmful in confined spaces.